
Developing your own black and white film at home is not nearly as hard as you would think, and it is not very expensive either. Getting all of your materials costs right around $50, and chemistry is uber cheap.
FIrst I would like to mention that if you are very serious about developing your own film, I recommend you take a class at your local community college, photo lab, or dark room co-op. The process is simple once you have some practice,but while you are first learning it is best to work with someone who knows what they are doing, just so you don't ruin any film.
So - first thing you need to do is collect your materials. Either go to your local pro phot shop, or order online. WHen it comes to physical supply, here is what you need: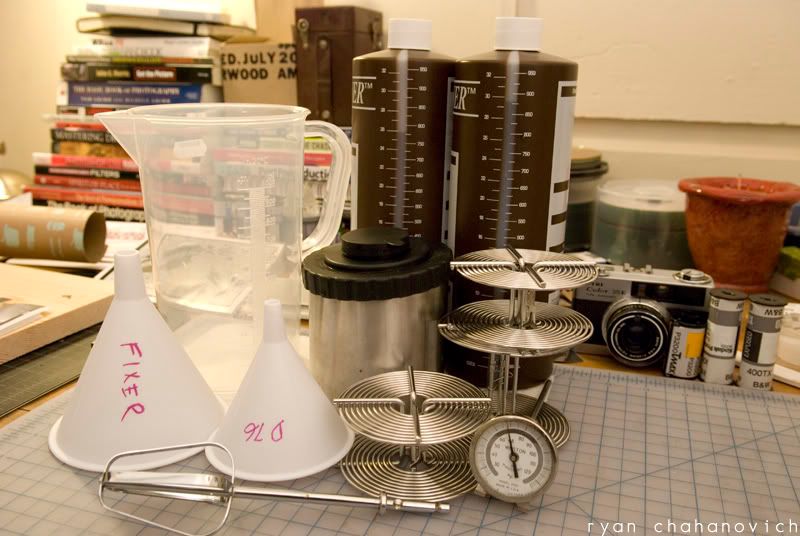
1. Plastic graduated beaker (at least 1000mL/1L)
2. Funnels (I recommend one for each chemical)
3. Photographic thermometer
4. Film canister/shaker
5. Film spools (35mm or 120)
6. Something to mix your chemistry
7. Can Opener (not pictured)
8. Scissors (not pictured)
9. Bottles for chemistry
10. An accurate, big display timing device (I use my phone)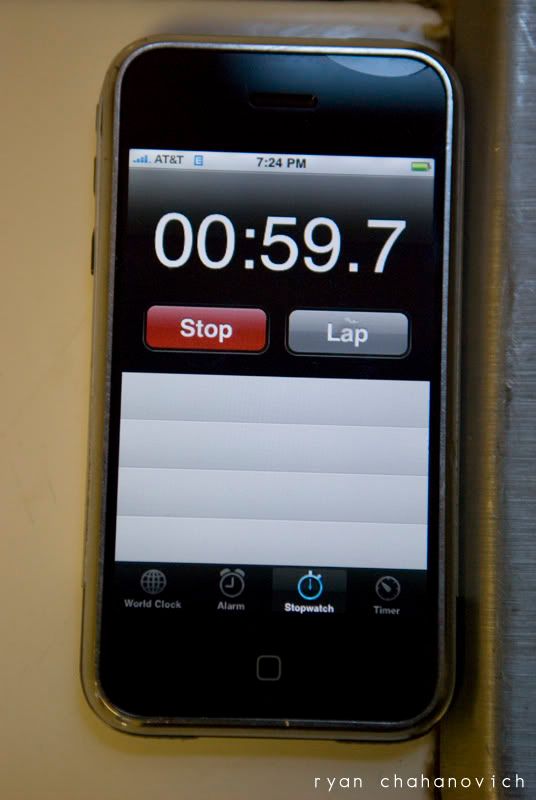
Again, you can pick up everything you need for right around $50, a small fee for having everything you need to develop your own film. Now - you need your chemistry. I use Kodak products, because that is what I know and like, and I also do not use a stop bath. Chemistry is extremely cheap, and really your only recurring cost (aside from your time). What you need:
1. D-76 Developer
2. Fixer
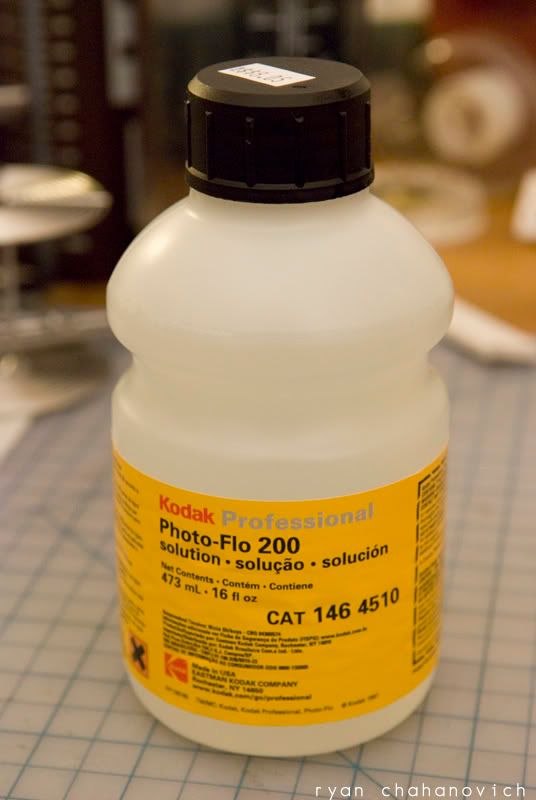
3. Photo Flo 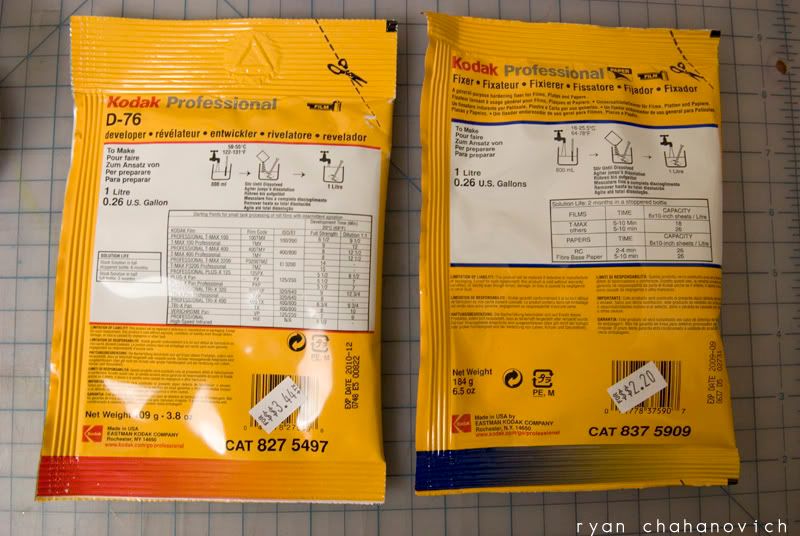
D76 and FIxer are about $4 each, and make a litre per bag. Photo Flo, you will probably only need to buy once in your life, and it is only about $8.
Let's get to work. First thing you need to do is mix your chemistry. The directions for each are on the bag, basically you mix an entire bag with 800mL of water, then add 200mL for a total of one liter. Once your chemistry is mixed, pour it into it's container and make sure to label the bottle.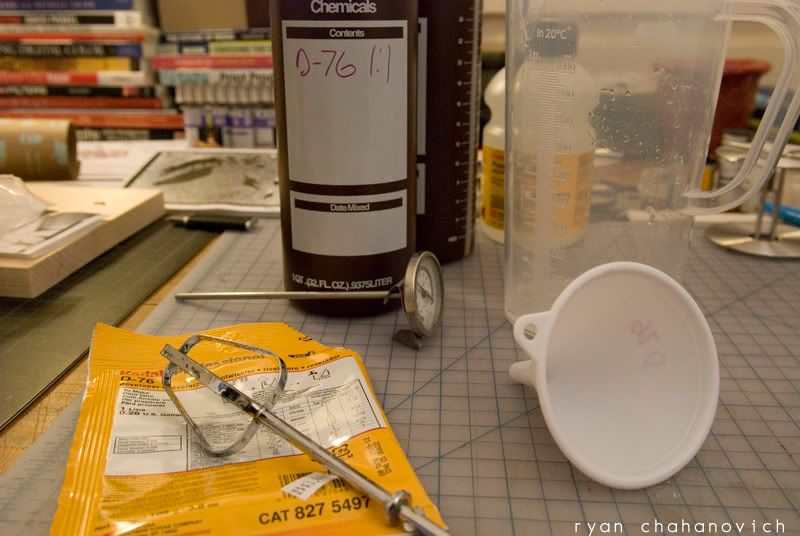
Now this is the part that takes a lot of practice, and why I recommend you take a class or get instruction. You need to transfer the film from it's container and transfer it to the film spool, then drop the spool into the film shaker. If you are loading 35mm, you need a can opener to pry open the container then some scissors to snip the end of the film. If you are loading 120, you need to separate the paper backing from the film itself. The tricky part here, is this needs to be done in total darkness! I did this in my extremely spooky basement, ghost noises and all.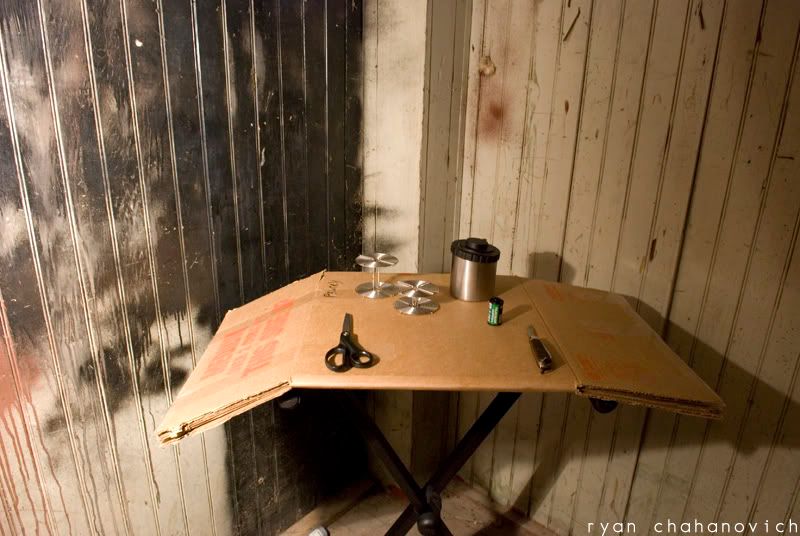

Once your loaded spool is in the canister, you can turn the lights back on, because the canister does not let any light in. Make sure to check your development chart for how long to develop and wether or not to dilute. Pour your D76 in (pure or diluted 1:1) then shake the canister for the first two minutes, followed by ten seconds for each minute remaining. 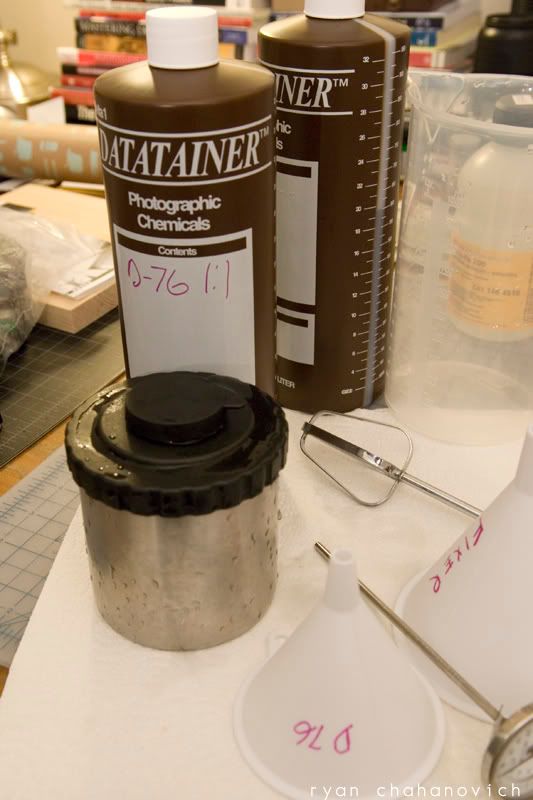
I don't use a stop bath when developing film, instead I use water just to use less chemistry. So, I pour out the D76 developer and let water run into the canister for a few minutes, shaking the canister several times. Next comes the Fixer, which is not to be dilluted. Pour in your fixer and set your timer anywhere between 3 and 5 minutes, shaking the canister for the first 30 seconds then again for 10 seconds each additional minute.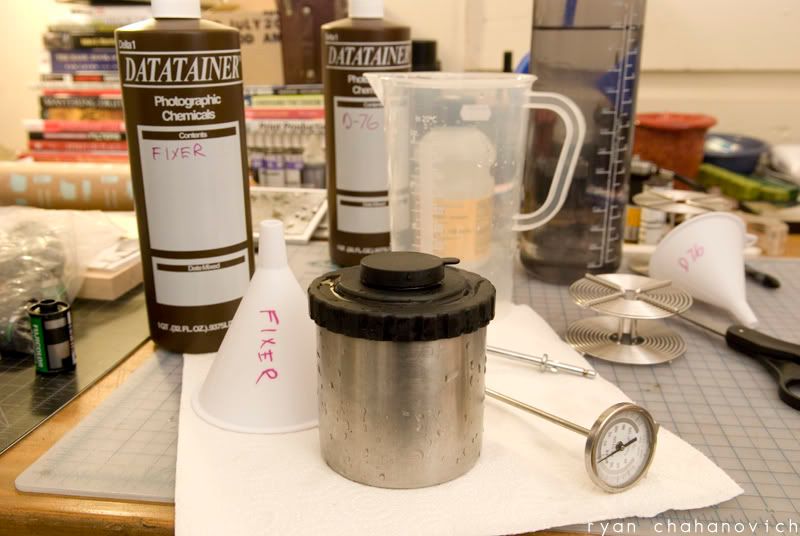
Once the timer dings, don't just pour out your fixer - put it back in it's container as it can be used multiple times. You can now take the cap of of your film canister/shaker, as all the silver is now set and no longer light sensitive. You can even unwind the film a little bit off the spool and se the first few frames in the roll (I LOVE doing that). What I do from here, because I don't have a film washer, is I place my graduated beaker under the sink and turn the water on low. Drop the film spool in the beaker and set your timer for ten minutes. At the end of ten minutes, pour about half a cap full of the photo flo into the beaker and let it sit for a minute. Photo flo helps to prevent water spots.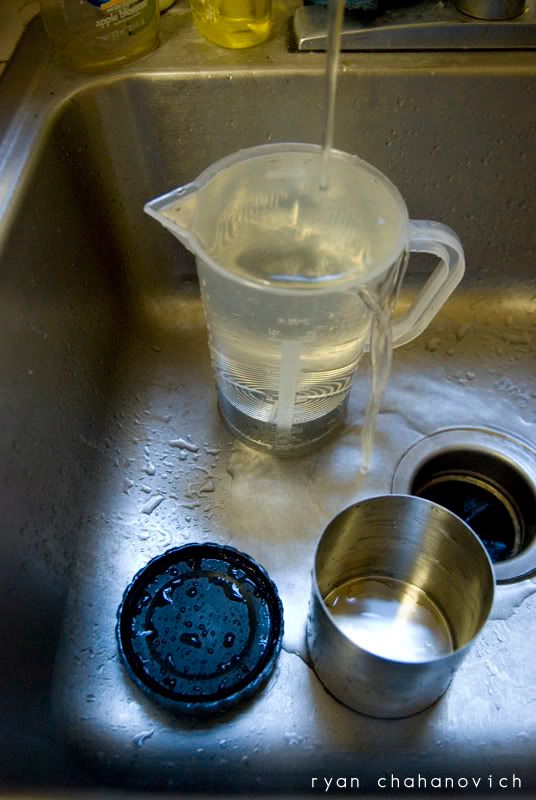
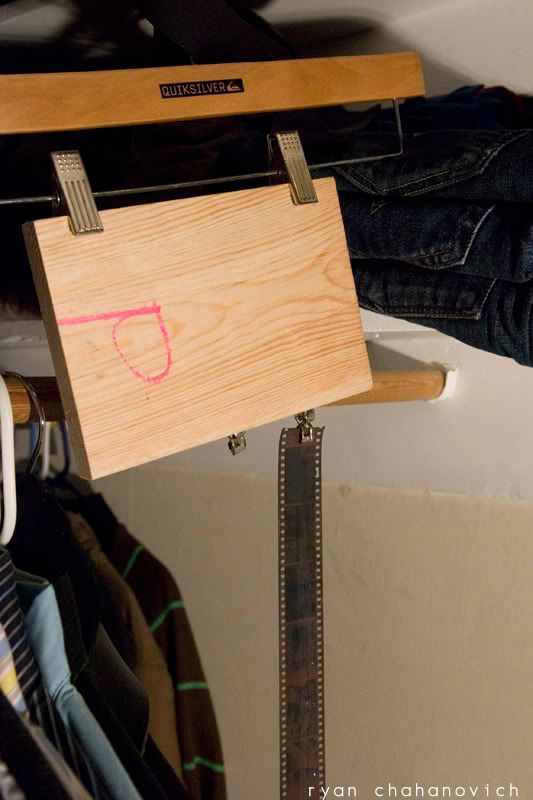
Almost done! your film now needs to dry for about 3-4 hours, so make sure you are hanging it somewhere that does not have a fan or kick up much dust. I took a small plank of wood, and nailed a few clamps a few inches a part, then just hung the platform in my closet.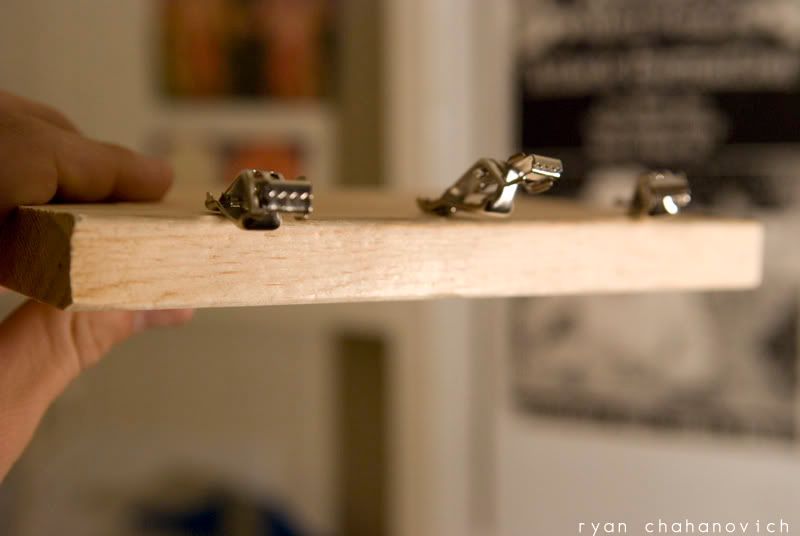
That is it, you have now developed your own film!
For a more in depth and technical tutorial (minus the images), check out The Dark Room Source.
PEACE to you all!
Monday, August 18, 2008
Develop your own film.
![]()
![]()
Subscribe to:
Post Comments (Atom)


No comments:
Post a Comment