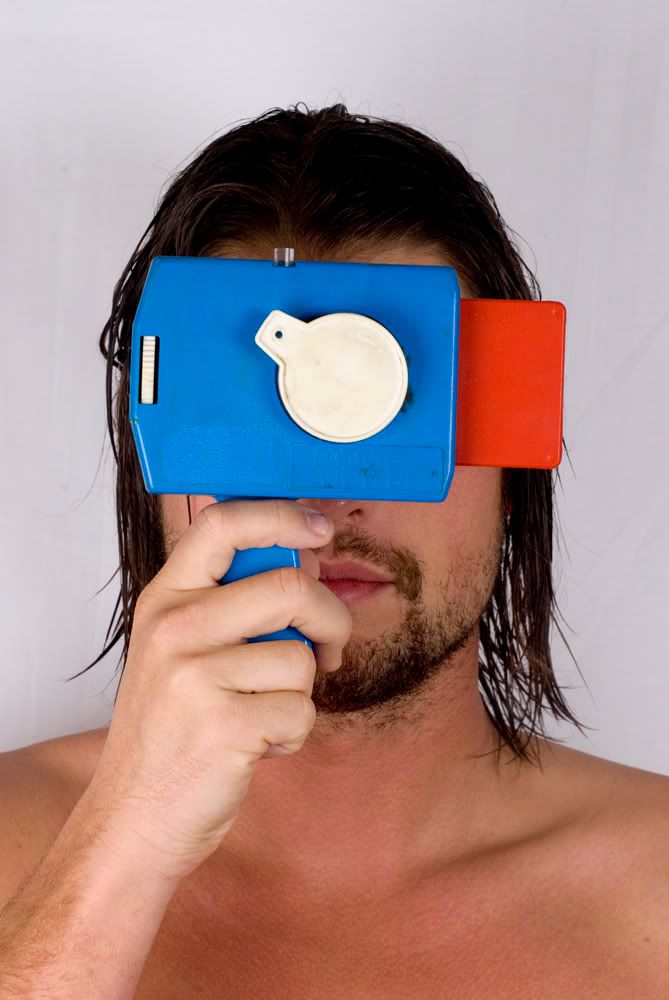
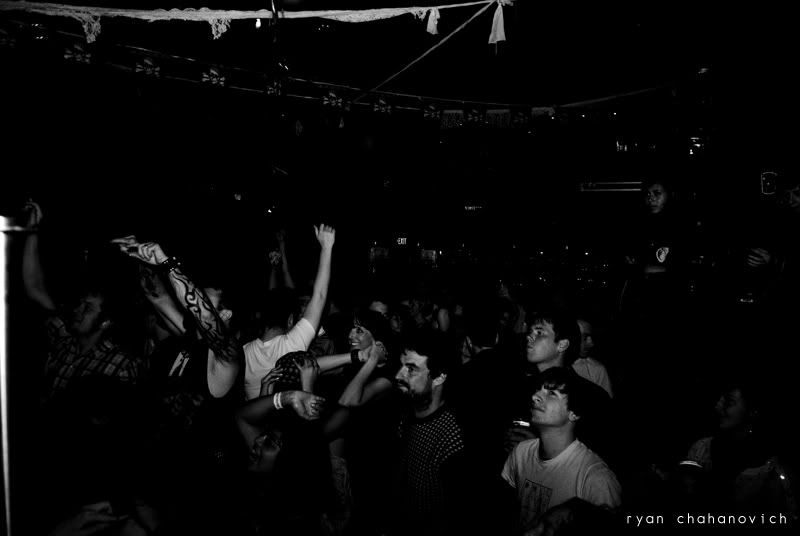
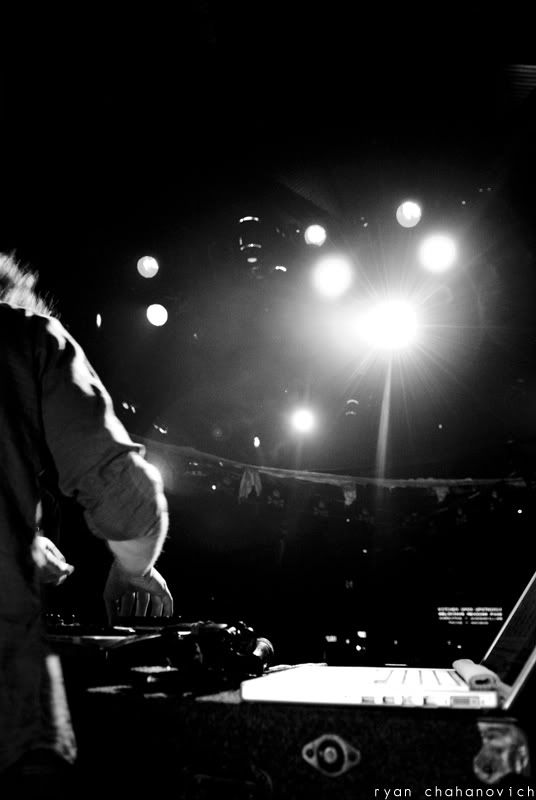
So, last night I dusted the cobwebs of my digital camera (that can almost be taken literally) and went down to the DNA Lounge for the bi-monthly BOOTIE SF mashup party. Not normally my bag I know, but I was shooting a very interesting DJ. You have heard of turntablism? Well, Moldover is all about Controllerism. He uses hacked controllers to digitally mash up and mix tracks live and on the fly. Really cool shit I must say, and he was awesome - lightning fast hands.
Here is a rad little clip MTV produced for Moldover called the How To Show on how to build your own hacked controller, followed by a few shots from last nights gig at BOOTIE.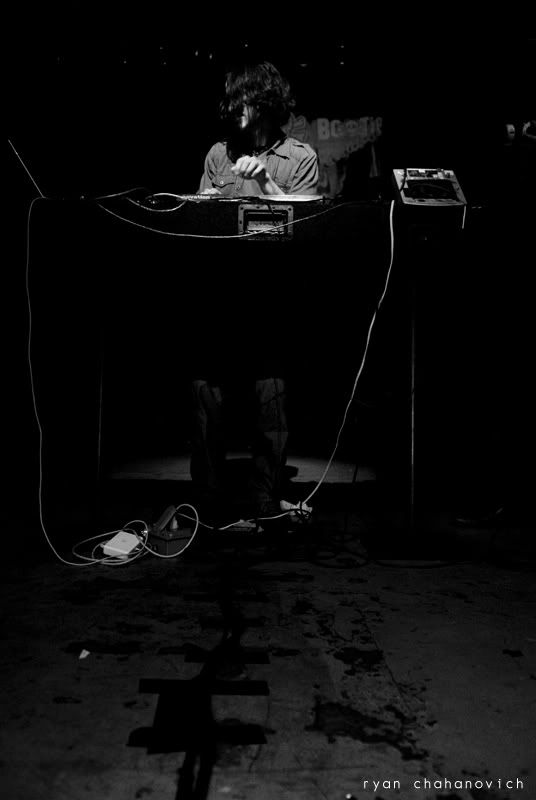
PEACE to you all!
Sunday, August 24, 2008
Controllerism by Moldover
Monday, August 18, 2008
Develop your own film.
Developing your own black and white film at home is not nearly as hard as you would think, and it is not very expensive either. Getting all of your materials costs right around $50, and chemistry is uber cheap.
FIrst I would like to mention that if you are very serious about developing your own film, I recommend you take a class at your local community college, photo lab, or dark room co-op. The process is simple once you have some practice,but while you are first learning it is best to work with someone who knows what they are doing, just so you don't ruin any film.
So - first thing you need to do is collect your materials. Either go to your local pro phot shop, or order online. WHen it comes to physical supply, here is what you need: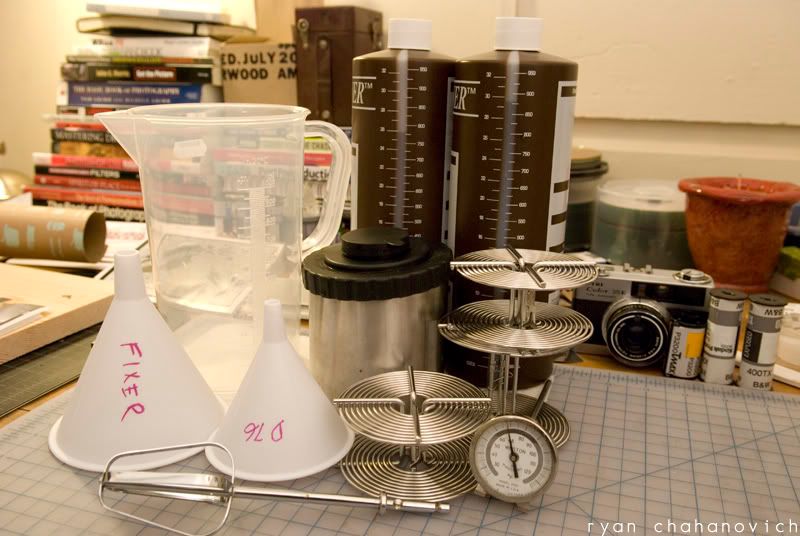
1. Plastic graduated beaker (at least 1000mL/1L)
2. Funnels (I recommend one for each chemical)
3. Photographic thermometer
4. Film canister/shaker
5. Film spools (35mm or 120)
6. Something to mix your chemistry
7. Can Opener (not pictured)
8. Scissors (not pictured)
9. Bottles for chemistry
10. An accurate, big display timing device (I use my phone)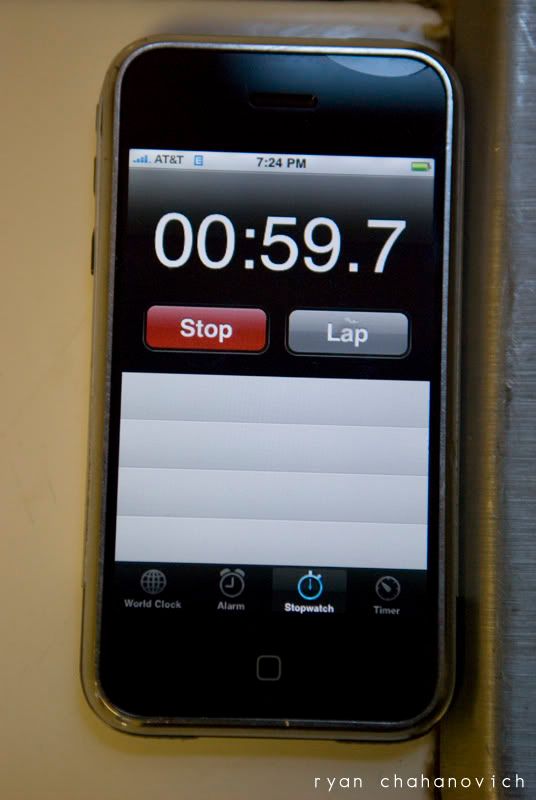
Again, you can pick up everything you need for right around $50, a small fee for having everything you need to develop your own film. Now - you need your chemistry. I use Kodak products, because that is what I know and like, and I also do not use a stop bath. Chemistry is extremely cheap, and really your only recurring cost (aside from your time). What you need:
1. D-76 Developer
2. Fixer
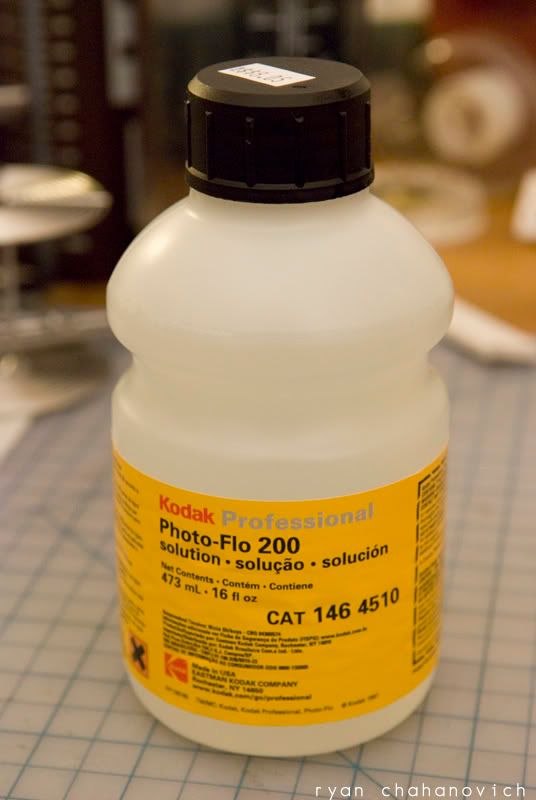
3. Photo Flo 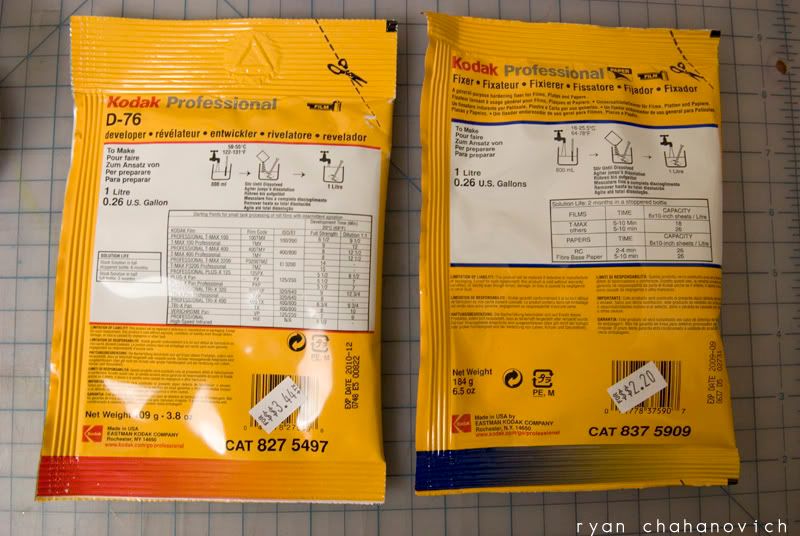
D76 and FIxer are about $4 each, and make a litre per bag. Photo Flo, you will probably only need to buy once in your life, and it is only about $8.
Let's get to work. First thing you need to do is mix your chemistry. The directions for each are on the bag, basically you mix an entire bag with 800mL of water, then add 200mL for a total of one liter. Once your chemistry is mixed, pour it into it's container and make sure to label the bottle.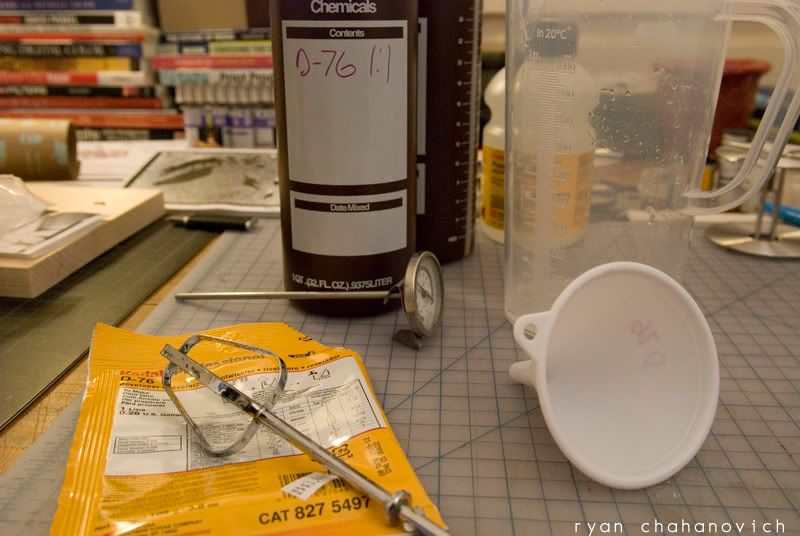
Now this is the part that takes a lot of practice, and why I recommend you take a class or get instruction. You need to transfer the film from it's container and transfer it to the film spool, then drop the spool into the film shaker. If you are loading 35mm, you need a can opener to pry open the container then some scissors to snip the end of the film. If you are loading 120, you need to separate the paper backing from the film itself. The tricky part here, is this needs to be done in total darkness! I did this in my extremely spooky basement, ghost noises and all.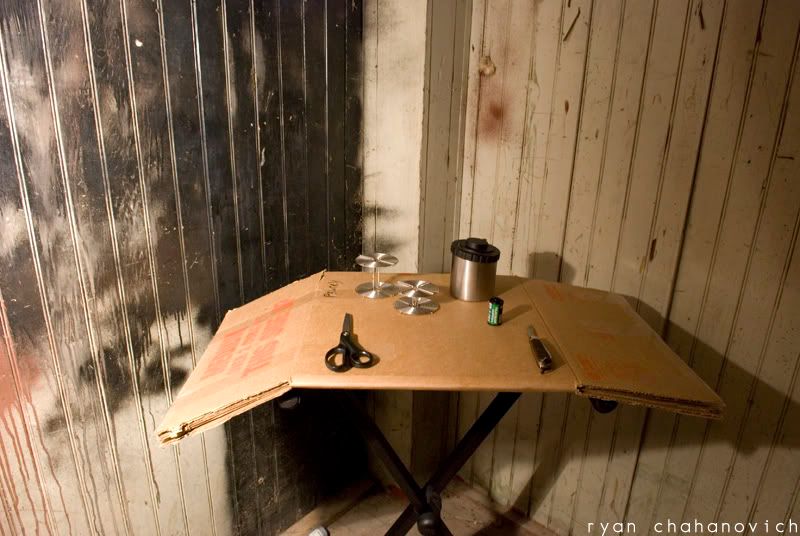

Once your loaded spool is in the canister, you can turn the lights back on, because the canister does not let any light in. Make sure to check your development chart for how long to develop and wether or not to dilute. Pour your D76 in (pure or diluted 1:1) then shake the canister for the first two minutes, followed by ten seconds for each minute remaining. 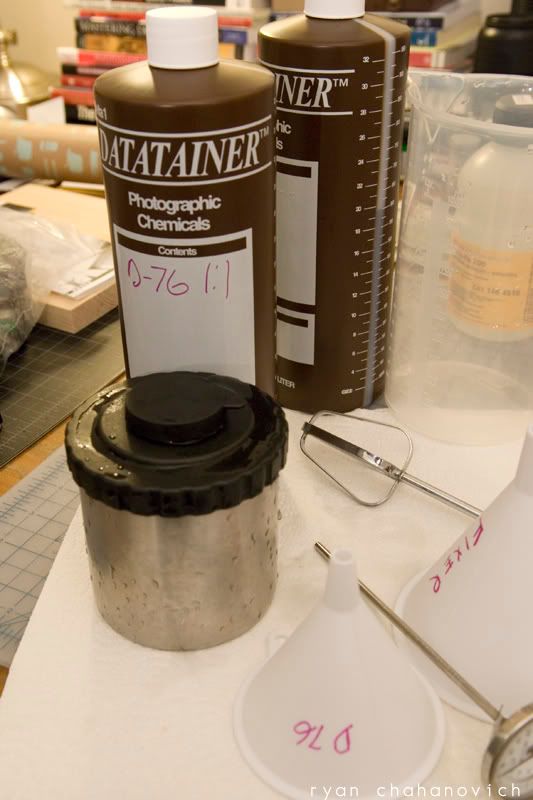
I don't use a stop bath when developing film, instead I use water just to use less chemistry. So, I pour out the D76 developer and let water run into the canister for a few minutes, shaking the canister several times. Next comes the Fixer, which is not to be dilluted. Pour in your fixer and set your timer anywhere between 3 and 5 minutes, shaking the canister for the first 30 seconds then again for 10 seconds each additional minute.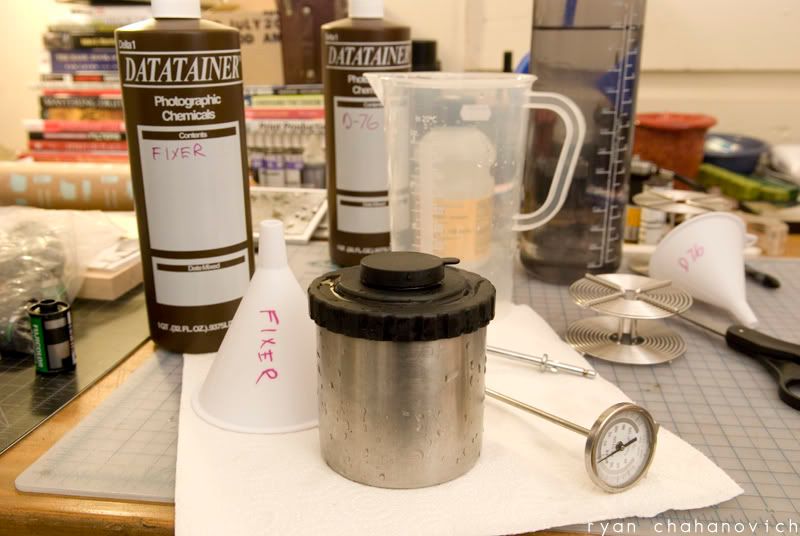
Once the timer dings, don't just pour out your fixer - put it back in it's container as it can be used multiple times. You can now take the cap of of your film canister/shaker, as all the silver is now set and no longer light sensitive. You can even unwind the film a little bit off the spool and se the first few frames in the roll (I LOVE doing that). What I do from here, because I don't have a film washer, is I place my graduated beaker under the sink and turn the water on low. Drop the film spool in the beaker and set your timer for ten minutes. At the end of ten minutes, pour about half a cap full of the photo flo into the beaker and let it sit for a minute. Photo flo helps to prevent water spots.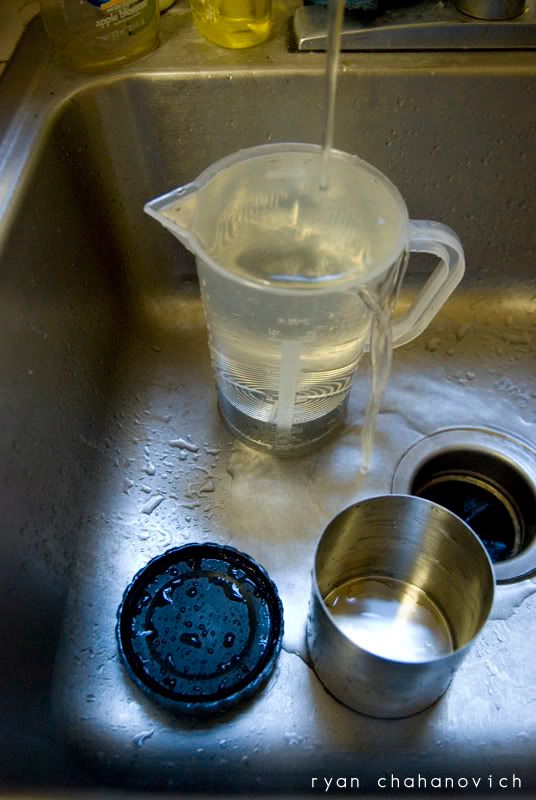
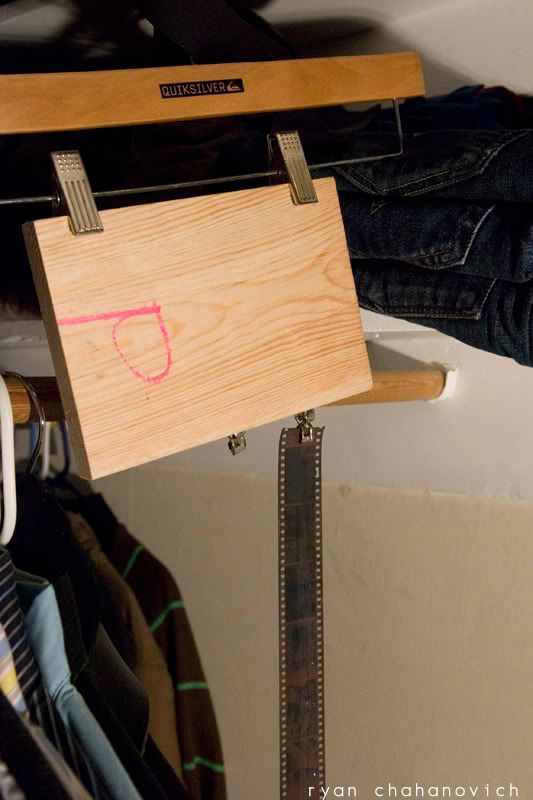
Almost done! your film now needs to dry for about 3-4 hours, so make sure you are hanging it somewhere that does not have a fan or kick up much dust. I took a small plank of wood, and nailed a few clamps a few inches a part, then just hung the platform in my closet.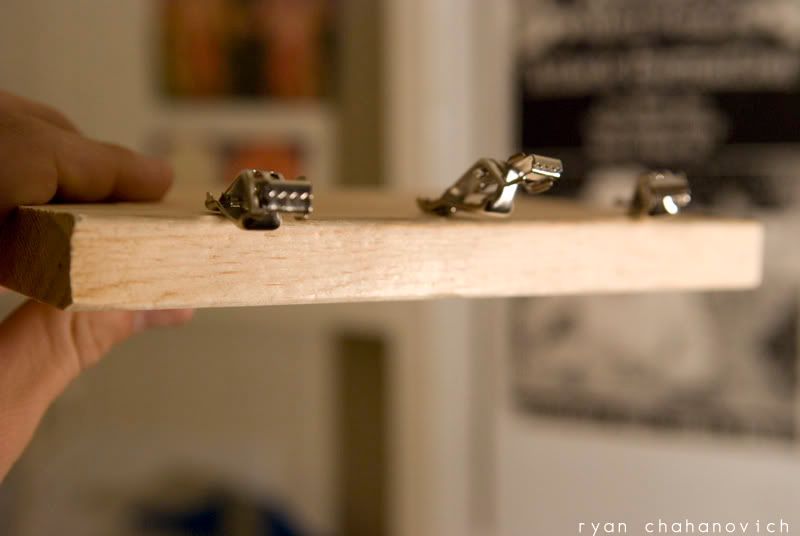
That is it, you have now developed your own film!
For a more in depth and technical tutorial (minus the images), check out The Dark Room Source.
PEACE to you all!
Sunday, August 17, 2008
Thrift store score.
Magera and I were scouring the Mission's thrift stores today, and I was lucky enough to score a nice find. Behold the Petri Color 35E. The camera was manufactured between 1968 and 1977, and is considered to be one of the greatest compact 35mm cameras ever made. 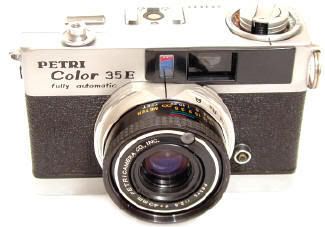
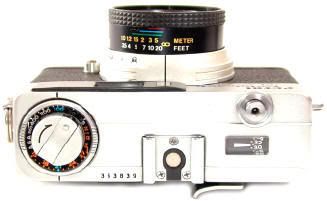
I must say this thing is solid and well constructed. After more than thirty years the camera shows almost no signs of wear. I am going to take it into Gasser's to get it looked over and pick up a new battery.
This is a cool screengrab from the original manual.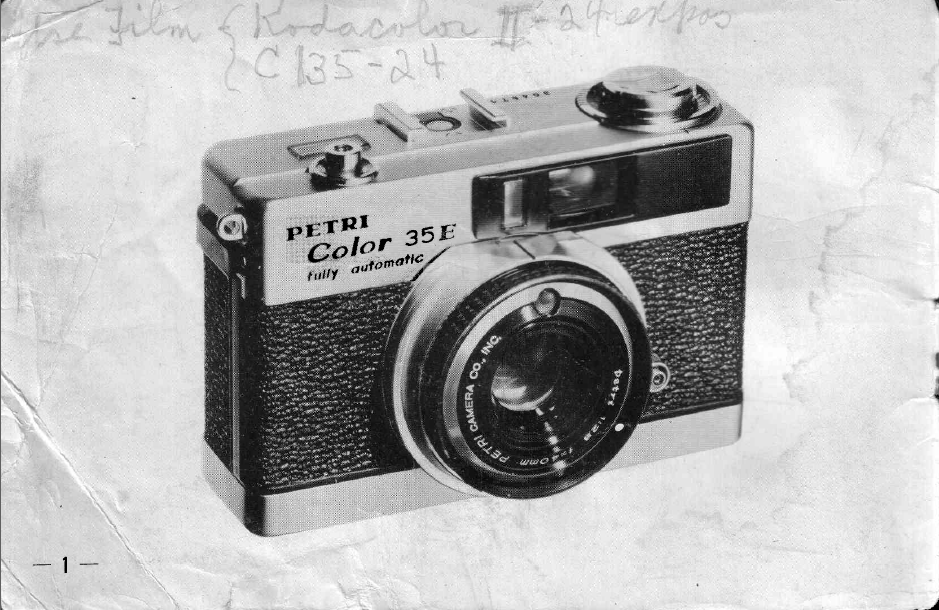
Image credits: Camera Manuals and Camera Quest.
PEACE to you all.
Saturday, August 16, 2008
Dark room tutorial.
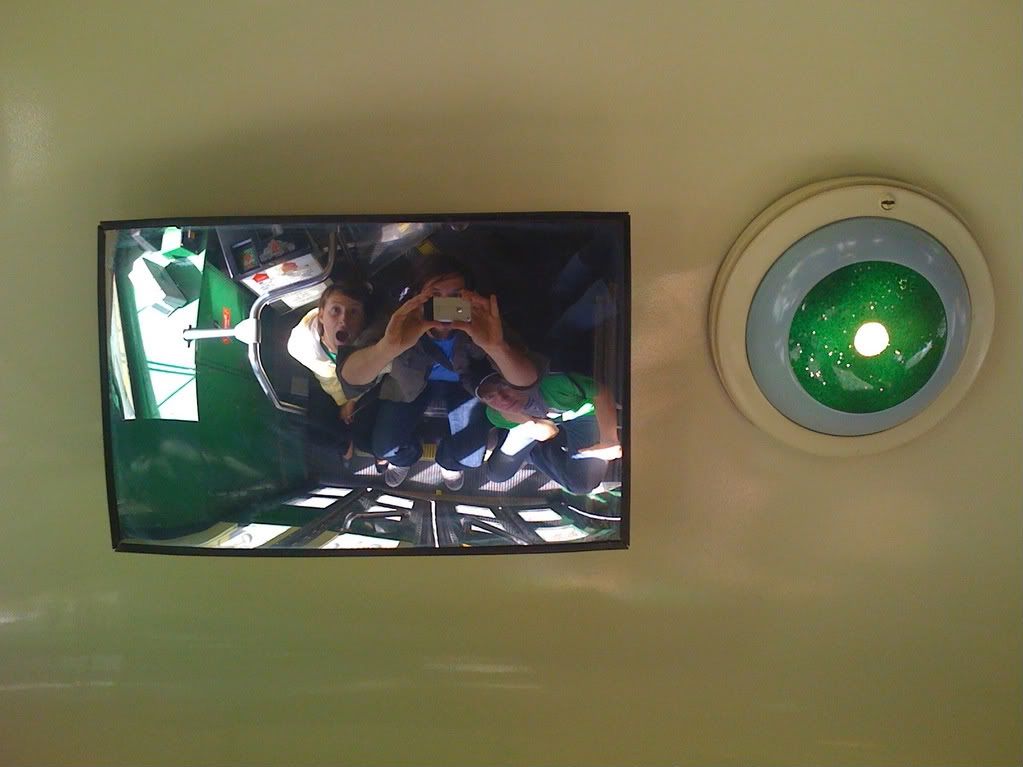
You would be surprised how cheap and easy (not to mention gratifying) that developing your own black and white film at home can be. I am going to be putting together over the next day or two a tutorial on how to develop your own work, here is a sneak preview: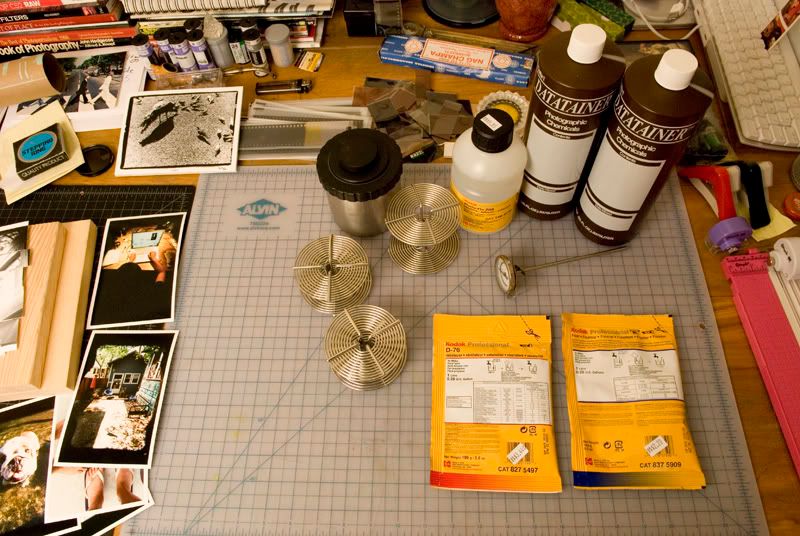
PEACE. to you all.
Thursday, August 14, 2008
A photogs paradise.
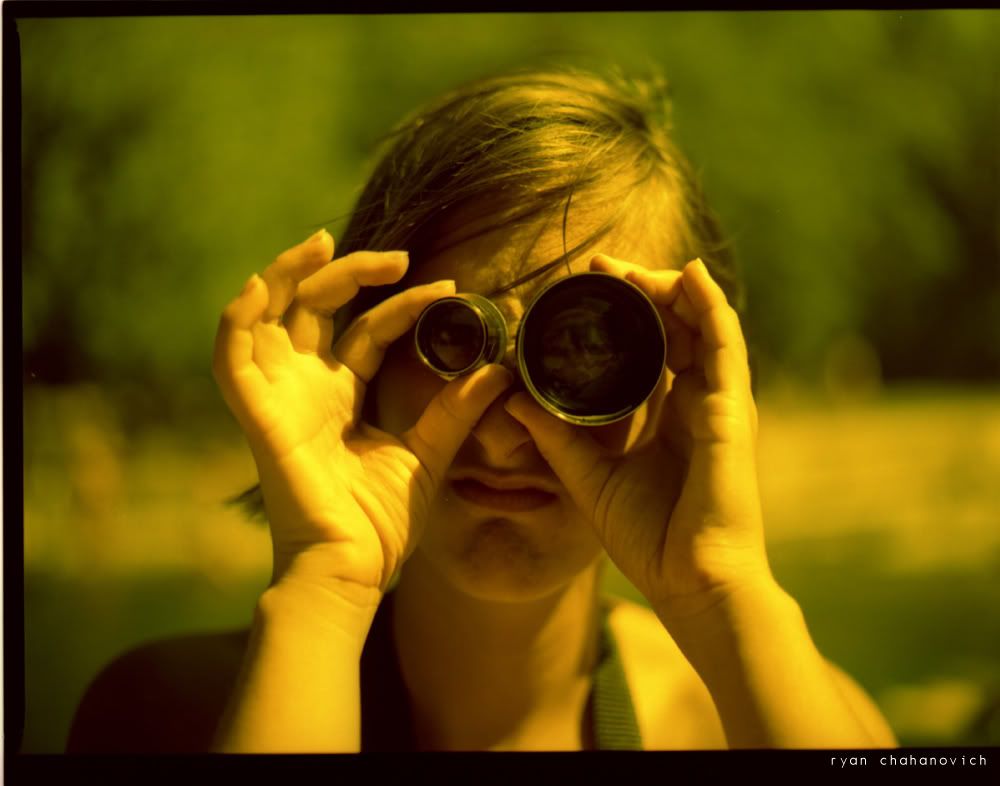
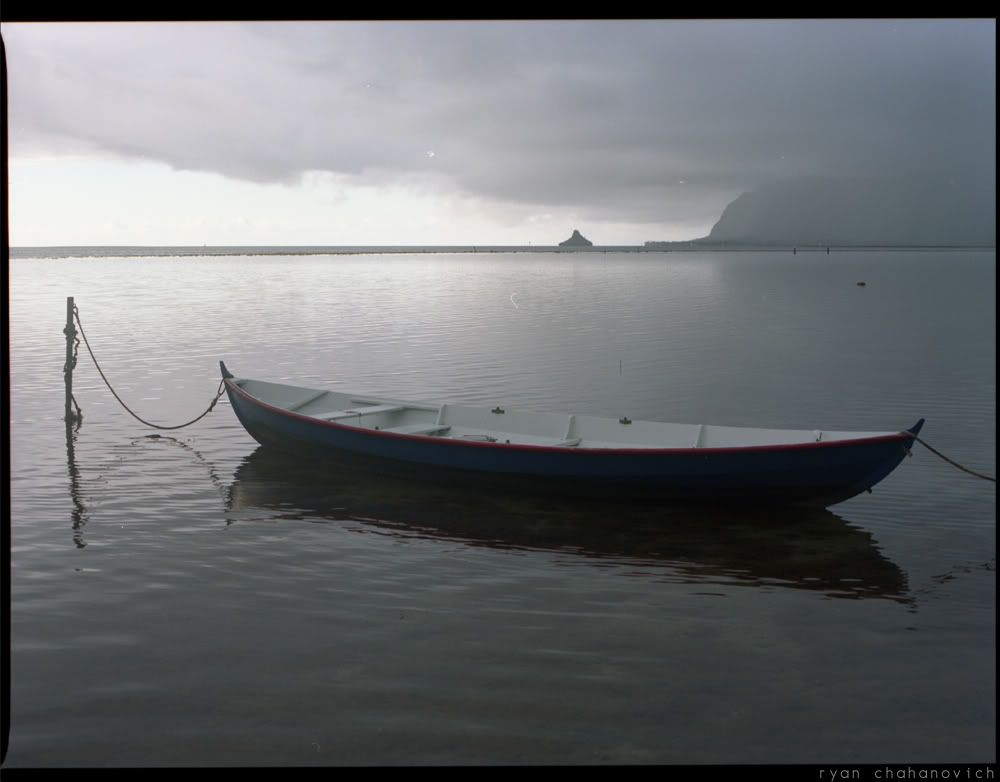
If you are a photographer and you shoot a lot of film - then San Francisco is your city. Of course the city, and for that matter the entire Bay Area, is totally beautiful and photogenic. But what makes the city so fantastic are the photographic facilities, Newlab, Rayko, Photo Epicenter (Hamburger Eyes), and so much more.
I have taken a liking to Photo Epicenter, which also serves as the home of the Hamburger Eyes photo zine (check it out). The facility has a few enlarger rooms for both color and B/W, a few scanners, and a gallery space.. I bought a package of hours and spent the better part of the night scanning some negatives, unfortunately I am not super happy with the results. The sleaves that hold the negatives don't allow you to scan the whole frame, but I have a feeling that I can just put the negatives on the glass and get the full scan I am looking for.
Here are a few scans from last night.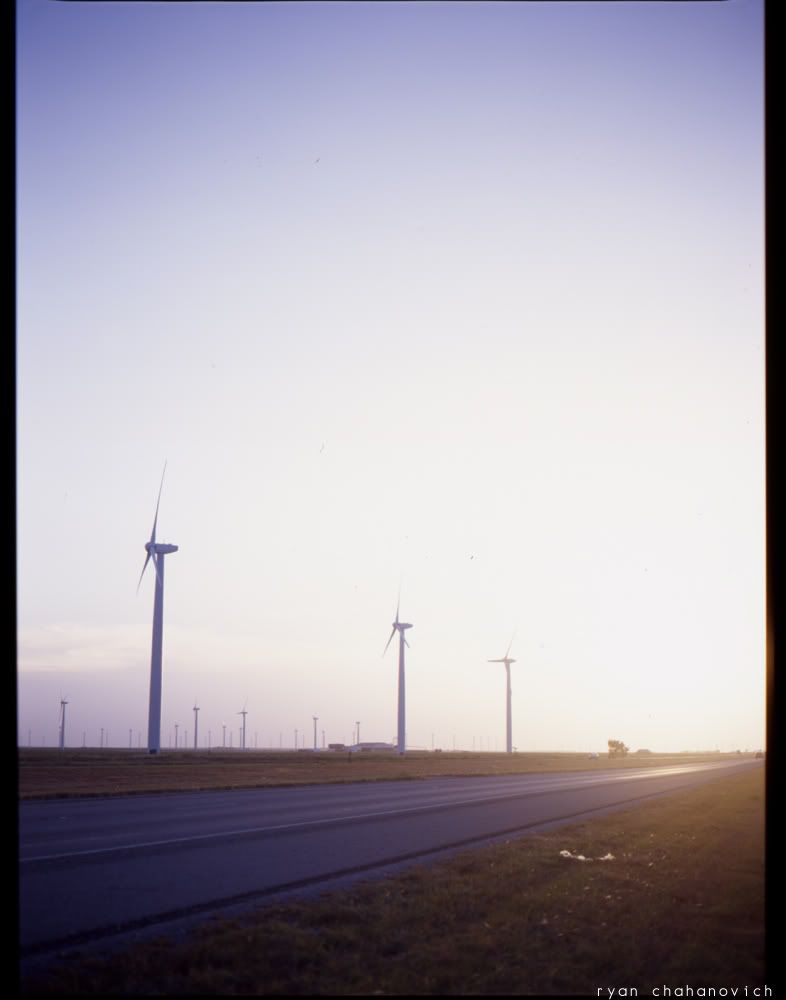
PEACE to you all!
Saturday, August 9, 2008
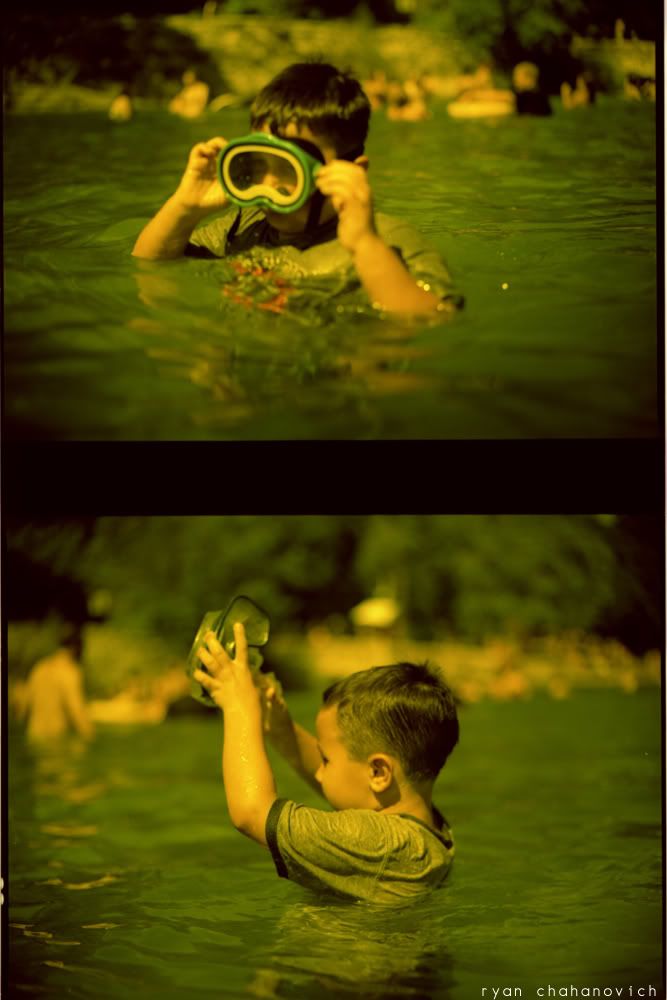
I am alive, and still making images!!!
I think it is just hitting me that I have been on the road now for two months, both Magera and I living out of our suitcases and crashing with friends and family. We spent the entire month of June in Hawaii, which buzzed by WAY to fast. Then, from there we flew to San Francisco to spend a week and try to find a place - which we accomplished. From there it was off to Austin to stay for two weeks at the Co-Op. After two weeks in Texas it was time for a road trip, so Magera, our friend Camilla and I hopped into our whip (UHAUL) and drove across country, taking our time and hanging out in Santa Fe and Phoenix.
But now, we are home. Nestled into a lovely brownstone chock full of history right smack in the middle of San Francisco's coolest neighborhood, the Haight.
So many stories to tell from this past two months, and so many images! I think a fundamental change has occurred in me in the way that I create images. I no longer see an image as a string of 1's and 0's, the photograph is now to me a very physical thing. Negatives and prints filling up boxes and notebooks, tangible items that can be handed down for generations, not just a few integers on a memory card. While we were in Austin I spent every night in the darkroom often working myself into exhaustion during the wee hours of the morning developing film, making contact sheets, and making prints. I would spend hours crafting a single image - really making a truly personal connection with it, not just moving a few sliders with the mouse.
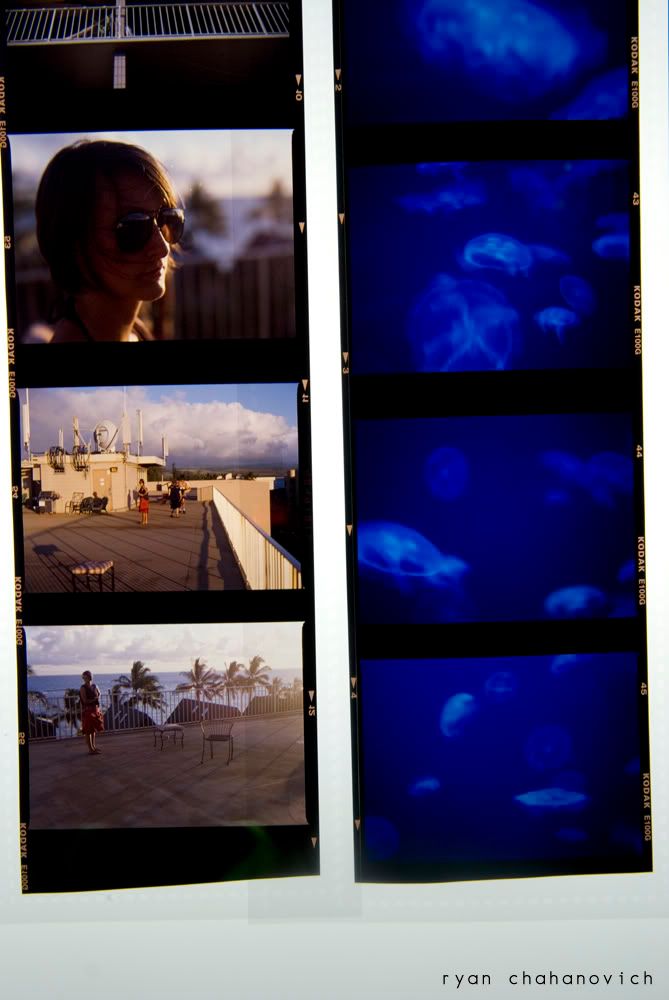
Aside from the rant here are a few images from the light table. The quality is poor, as I just laid down a few slide negatives onto the table and snapped a few pics (yes, with the digital, HA!). These shots were all from Hawaii, if you look closely at the second one (the jellyfish shots), you can see one of digital's major downfalls - the inability to handle absolute color. When I was shooting a lot of live music, I would always run into this problem when the stage lighting would be purely red, blue, orange or purple.
Anyways, I have about 20 more rolls from Hawaii, Austin, San Francisco and the road trip that still need to be processed, hopefully I will be purchasing a scanner soon and posting some images.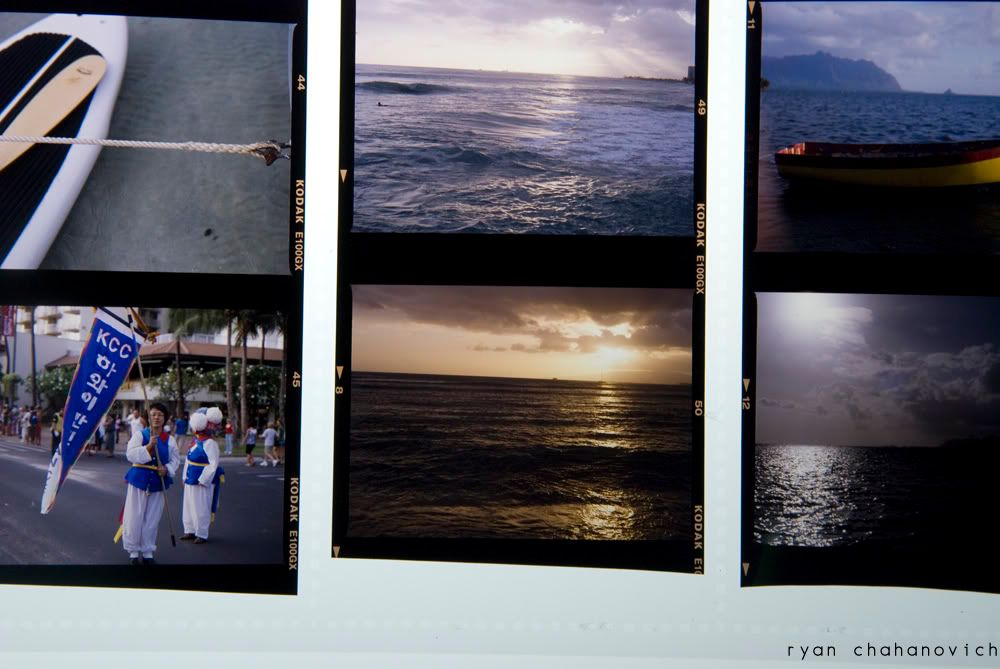
PEACE to you all!
Subscribe to:
Posts (Atom)